I’m sure you all know the feeling. You need that one particular colour, but your stash is so messy that you end up spending endless amounts of time digging through it all to find what you’re looking for.
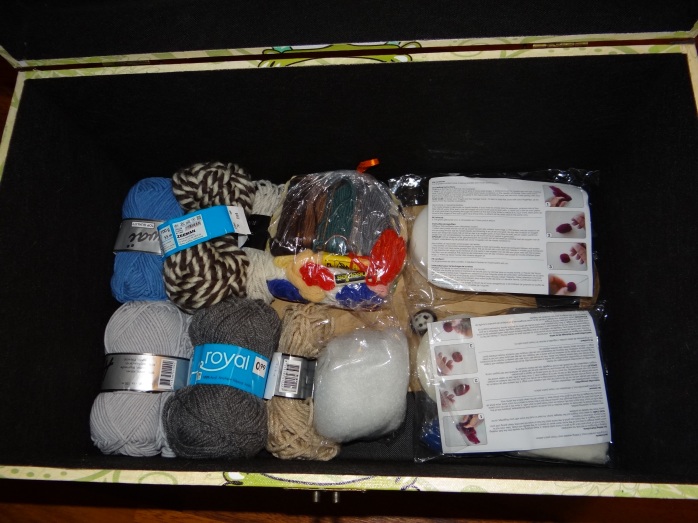
A while back, I got a nice big trunk to store my yarn in and I figured if I kept the colours together, I wouldn’t have to spend too much time looking for anything. Man, was I ever wrong. Eventually, my stash ended up looking like this:
 I decided that I needed to do something, or I would have to keep buying more and more yarn because I couldn’t find that one skein that’s hidden all the way at the bottom. The perfect idea came to me when I read a post from All About Ami about making a DIY Yarn Storage. I needed compartments in the trunk to sort my skeins. I thought I’d found some at Ikea, but as it turned out, they didn’t fit. (They did fit perfectly in the drawers of our new wardrobe, so our socks and stuff are sorted as well)
That’s when I realised, I could just as easily make something myself.
And today, I finally set myself to work on it.
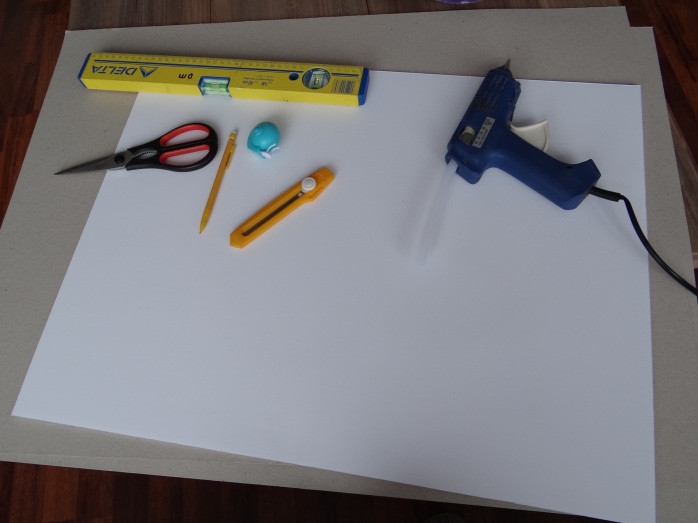
Everything you need: a piece of foamboard, two big pieces of cardboard, a pencil, scissors, box cutter, measuring tape, hot glue gun and something that helps you draw straight lines

Plus, of course: a cup of tea. (optional)
I cut the foamboard in two pieces that fit inside the trunk when laid flat. These make the base of the compartments, so I could fit multiple layers inside that were easy to lift up. It’s important that the underside is nice and sturdy, to that it doesn’t bend or break under the weight of the yarn. The dividers don’t need to be as sturdy, so I used the thinner cardboard. It’s actually pretty nice that they give way a little bit, so you can squeeze in that last skein. I think it’s easiest (for me to type and less text for you), if I just show you in pictures how I made the compartments.
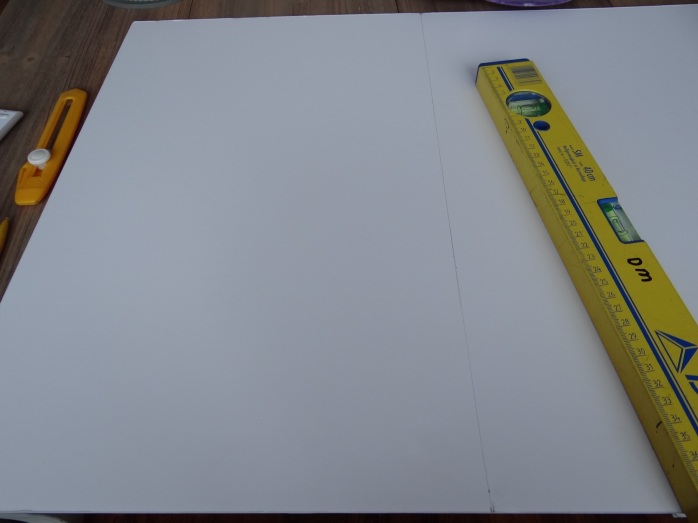
First, I divided the foamboard in two fitting pieces

Then, I measured the strips to make the dividers

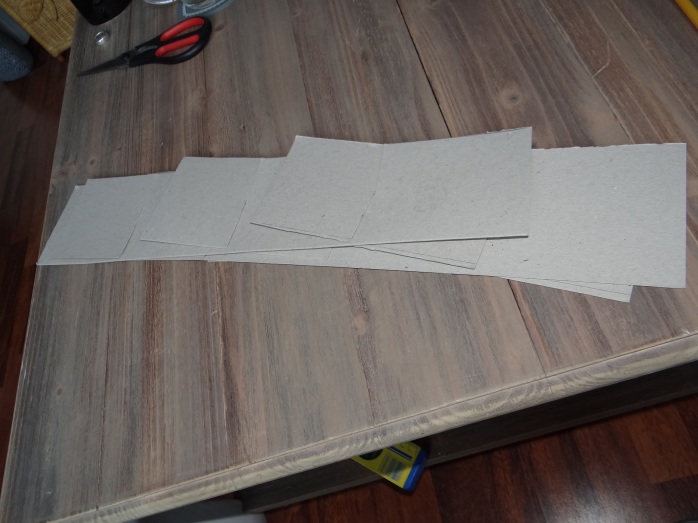
Cut them all and then used the hot glue gun to attach four of them around the bottom
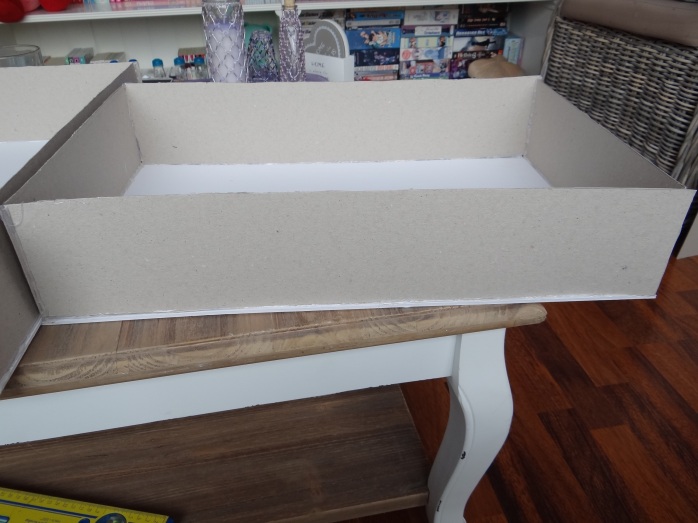
After glueing, you get this

Time for another cup of tea!

Cutting notches so that the dividers can be placed together

The dividers put together
They can also be folded if I ever decide I don’t need them for a while

The complete compartment. The dividers are loose, so they can be taken out or replaced if need be

Time to cuddle with the cats before I start on the sorting (they look totally happy to see me in this picture :P)
The bottom holds a couple skeins that I don’t use very often, since it’s bigger yarn, plus some tiny skeins, needle felting materials and a little bit of stuffing.

The second layer holds one of the compartments

And then there’s the top layer with the second compartment
A sorted stash is a happy stash! Hopefully it will stay neat this time ^_~
How do you sort your stash? Is it sorted at all? And did you find this little post of mine to be helpful? Feel free to let me know in a comment! ^_^
Cheers, Lydia


